Cluster Wizard
The Cluster Wizard provisions a Kubernetes cluster end-to-end from a single guided flow. It creates the necessary variables, secrets, VIP, derived machine roles, and network assignments on the account, then triggers the standard provisioning action on each selected machine.
The wizard is available from the Cluster Wizard button in the dashboard top bar.
Prerequisites
- At least one machine is bootstrapped and visible in the Machines list.
- All machines you intend to assign are online and reachable over the mesh network before the provisioning step.
Step-by-step
1. Scenario
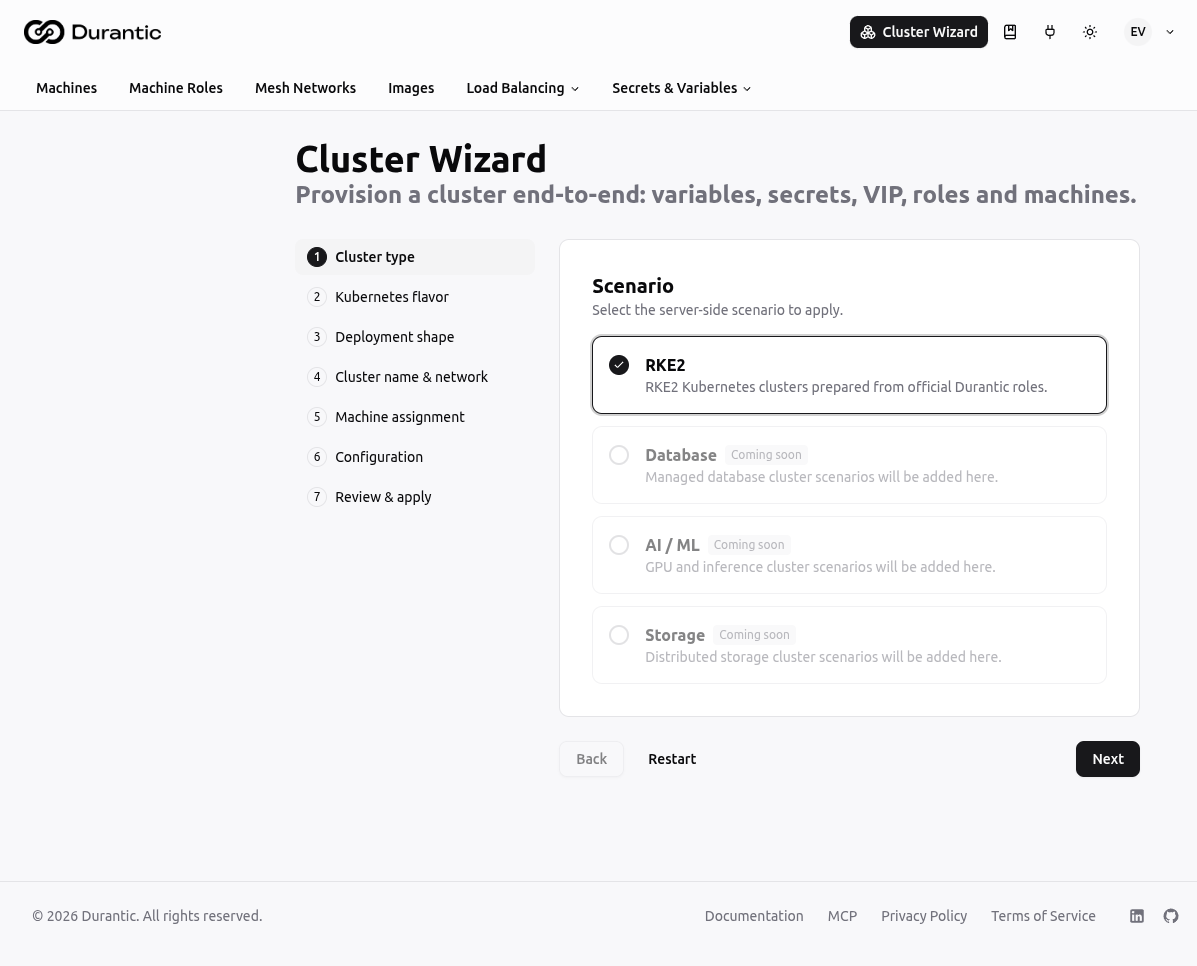
Select the cluster scenario. The following scenarios are available:
| Option | Status |
|---|---|
| RKE2 | Available — RKE2 Kubernetes clusters prepared from official Durantic roles |
| Database | Coming soon |
| AI / ML | Coming soon |
| Storage | Coming soon |
Select RKE2 to proceed.
2. Version
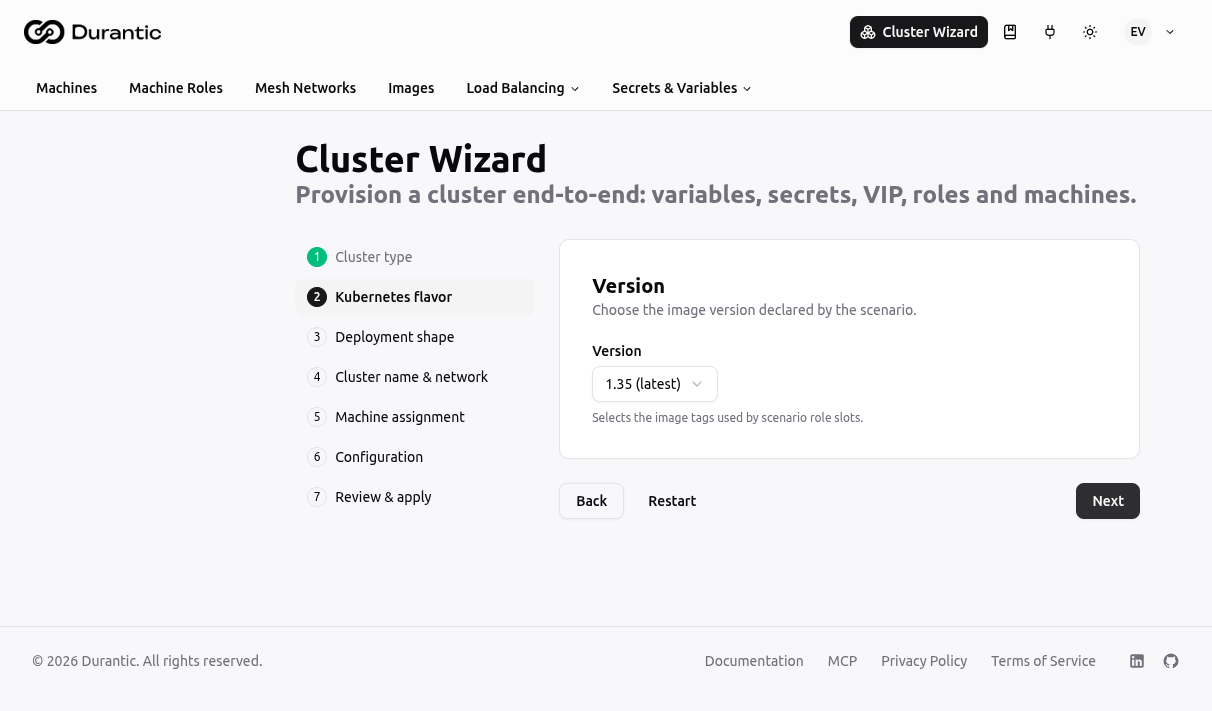
Choose the Kubernetes version for the selected scenario. The dropdown shows available versions (e.g., 1.35 (latest)). The version controls which image tags are used for the scenario's role slots.
3. Deployment shape
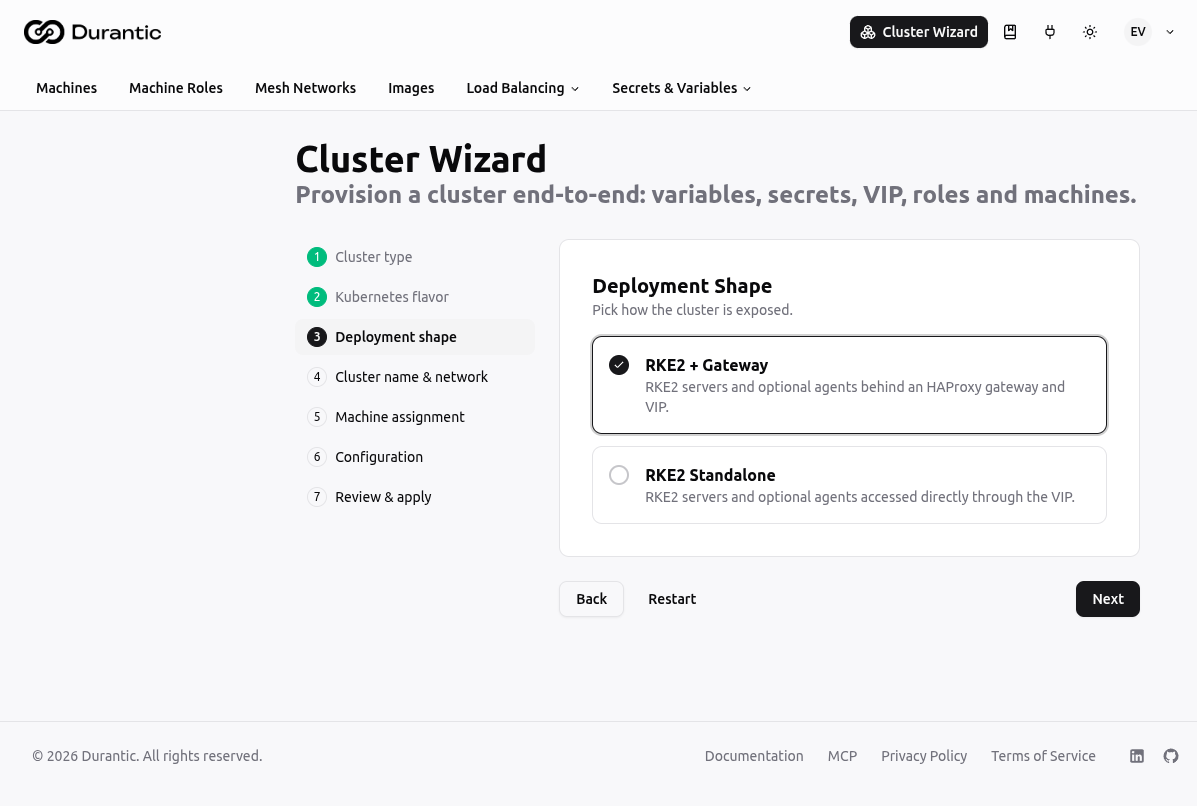
Choose a shape from the selected scenario. Each shape defines a different topology — for example, RKE2 + Gateway versus RKE2 standalone. The shape determines which machine pools and roles the wizard will configure.
4. Cluster name & network
| Field | Description |
|---|---|
| Cluster name | A short lowercase name (letters, digits, dashes). All resources created by the wizard are prefixed with an uppercase version of this name — e.g. prod-a becomes the prefix PRODA_. |
| Mesh network | Pick an existing mesh network or create a new one with a name and CIDR. |
| VIP address | Pick an existing VIP or create a new one at a specific IP address. The address must be inside the selected network's CIDR. |
The Next button enables only when all required fields pass validation.
5. Machine assignment
Assign machines to the pools defined by the deployment shape (e.g., gateway, servers, agents). The wizard shows the minimum and maximum allowed count for each pool and blocks progress until minimums are met.
6. Configuration
Fill in the inputs, variables, and secrets declared by the scenario manifest.
| Section | Description |
|---|---|
| Inputs | Scenario-level toggles or text fields (e.g., enable ArgoCD). Enabling an input may reveal additional variable and secret fields. |
| Variables | Plain-text values referenced in role templates (e.g., GATEWAY_PUBLIC_IP). Pre-filled from matching account variables when a cluster name is set. |
| Secrets | Encrypted values (e.g., cluster join token). Fields with an auto-generated secret offer a Keep existing option to preserve a previously generated value on re-apply. |
| SSH keys | Optional GitHub username or raw public key added to every machine in the cluster. |
7. Review & apply
The wizard runs in two stages:
- Plan — The controlplane validates the request and returns a list of actions it will take (create, update, or reuse for each resource). No changes are made yet.
- Apply — After you confirm the plan, the controlplane creates or updates the resources. Each step is marked done as it completes.
Once apply succeeds, click Start provision to trigger the standard provisioning action on all assigned machines. The wizard navigates to the Machines page when provisioning is dispatched.
Note
All machines must be online before you can start provisioning. An alert lists any offline machines.
Re-applying
You can run the wizard again for the same cluster name. The controlplane reuses existing resources and only creates or updates what has changed. Existing secrets with Keep existing checked are not overwritten.
What the wizard creates
| Resource | Name pattern |
|---|---|
| Account variables | <PREFIX><VARIABLE_NAME> |
| Account secrets | <PREFIX><SECRET_NAME> |
| Derived machine roles | <PREFIX><official-role> |
| VIP (if new) | from the address you entered |
| Mesh network (if new) | from the name you entered |
| Machine role assignments | roles from the shape mapped to selected machines |
| Mesh network assignments | all selected machines joined to the chosen network |
Role templates are rewritten server-side so that references like vars.K8S_VIP resolve to the prefixed name vars.<PREFIX>K8S_VIP. The dashboard does not need to handle this.